
To convert a physical SIM to eSIM, open your phone’s SIM settings and tap Convert to eSIM: on iPhone it’s Settings > Cellular > Convert to eSIM, on Google Pixel it’s Settings > Network & internet > SIMs > [your SIM] > Convert to eSIM, and on Samsung Galaxy it’s Settings > Connections > SIM manager > [your SIM] > Convert to eSIM. Your number and plan stay the same. Only the SIM format changes. Your carrier has to support the conversion, so if the button isn’t there, the carrier can switch you over with a QR code, its app or eSIM Carrier Activation.
The whole process usually happens on Wi-Fi in a few minutes. Your physical SIM stops working as soon as the eSIM activates, so read the checklist first.
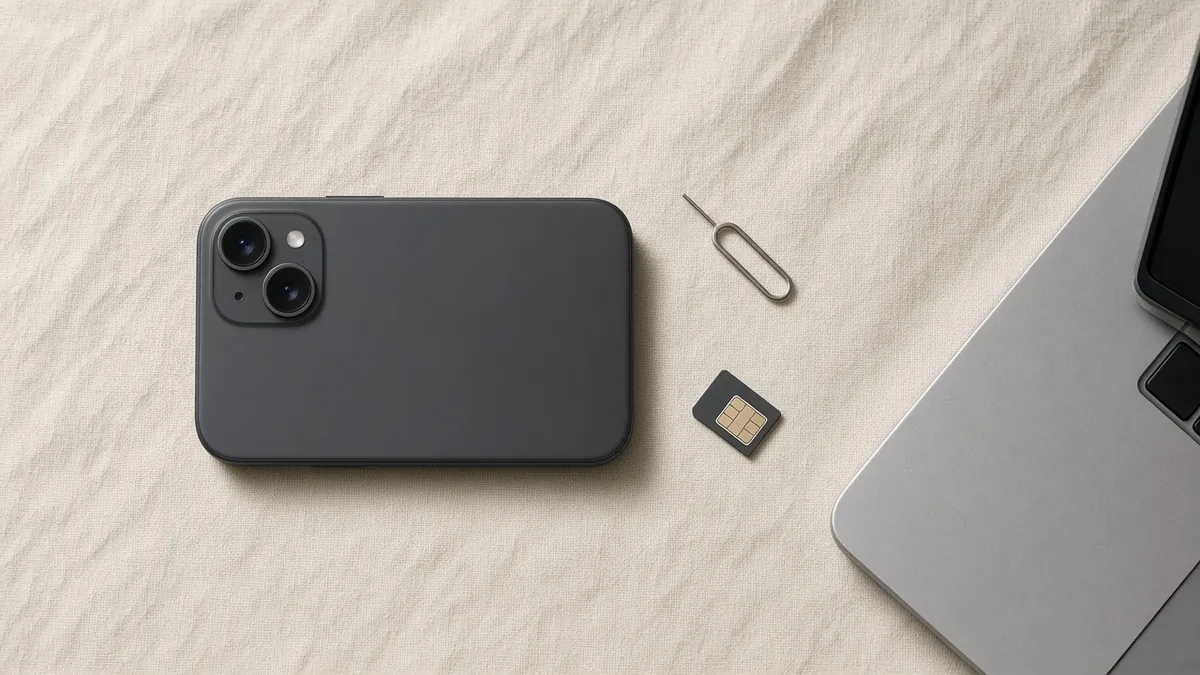
Converting vs. transferring vs. buying a travel eSIM
Three different things all end with “an eSIM in Settings”, and people mix them up:
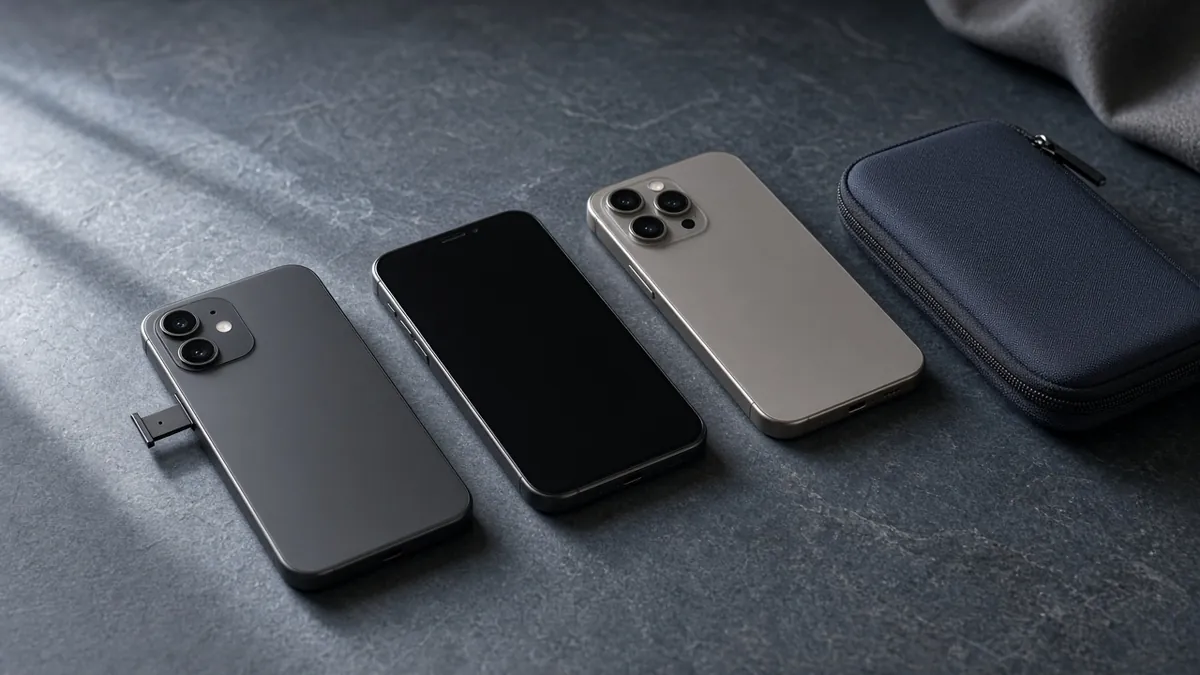
| You want to… | What it is | Guide |
|---|---|---|
| Turn the SIM card in this phone into an eSIM | Conversion: same phone, same number | This page |
| Move your number to a new phone | Transfer: the old phone’s SIM stops working | Transfer an eSIM to a new iPhone or phone |
| Get data abroad without roaming fees | Travel eSIM: a separate plan next to your home line | How to use an eSIM for travel |
Before you switch: 5-point checklist
- Your phone supports eSIM. iPhone XS, XR and later support eSIM. Pixel’s built-in conversion needs a Pixel 7 or later (including Fold). Most Galaxy S20 and later, Z Fold/Flip and selected A-series models support eSIM, depending on region. Not sure? Check your phone’s eSIM compatibility.
- Your carrier supports eSIM conversion for your plan type. Prepaid, business and family lines sometimes have different rules.
- The phone is unlocked, or locked to the same carrier you’re converting with. How to check if your phone is unlocked.
- You’re on reliable Wi-Fi and the phone is charged. The eSIM downloads over the internet.
- Contacts aren’t stored only on the SIM card. On Android, check that your contacts sync to your Google or Samsung account before you start.
Important: Your physical SIM is deactivated when the eSIM activates. Don’t start a conversion just before a flight or anywhere you can’t reach Wi-Fi or carrier support.
How to convert a physical SIM to eSIM on iPhone
Works on iOS 26 and iOS 27 if your carrier supports it.
Step 1: Open Settings > Cellular
Go to Settings > Cellular (Mobile Service or Mobile Data in some regions).
Step 2: Tap Convert to eSIM
Tap Convert to eSIM. On some versions you first tap the line that uses the physical SIM, or go through Set Up Cellular / Add eSIM and choose the number with a physical SIM. If you don’t see Convert to eSIM, your carrier doesn’t support self-service conversion. Skip to the no-button options.
Step 3: Confirm the conversion
Tap Convert Cellular Plan, then Convert to eSIM. Some carriers ask you to double-click the side button to confirm.
Step 4: Wait for the eSIM to activate
Keep the iPhone on Wi-Fi. When the eSIM activates, the physical SIM is deactivated.
Step 5: Remove the SIM card and restart
Take out the physical SIM and restart your iPhone. Then run the tests below.
How to convert a physical SIM to eSIM on Android
Google Pixel (Pixel 7 and later)
- Open Settings > Network & internet > SIMs.
- Select the SIM you want to convert.
- Scroll down and tap Convert to eSIM.
- Tap Convert, follow the on-screen steps, then tap Done.
Your physical SIM stops working once the conversion is done. Google says you can discard it after you’ve checked the eSIM works. Some carriers recommend keeping it for a couple of weeks just in case.
Samsung Galaxy
- Open Settings > Connections > SIM manager.
- Tap the physical SIM you want to convert.
- Tap Convert to eSIM, then confirm in the pop-up.
- Your service may drop out briefly while the profile is converted. Your carrier may also send you a notice that an eSIM request was made on your account.
Other Android phones
Search Settings for “eSIM” or “SIM manager”. If there’s no conversion option, use your carrier’s app or ask the carrier for an eSIM QR code. Then install it like any other eSIM (how to install an eSIM on Android).
No “Convert to eSIM” button? Do this instead
A missing button almost always means the carrier doesn’t offer self-service conversion for your line. It doesn’t mean your phone can’t use eSIM.
- Update the phone (iPhone: Settings > General > Software Update) and restart.
- Use the carrier’s app: many US carriers let you switch to eSIM in their app.
- Ask the carrier for an eSIM by chat, phone or in store. They’ll activate it with eSIM Carrier Activation (a “Carrier Cellular Plan Ready to Be Installed” notification on iPhone) or send you a QR code.
- Keep the physical SIM in until the eSIM is live.
Switching to a new phone at the same time?
You don’t need to convert first. On iPhone, eSIM Quick Transfer can move a physical SIM or eSIM from your old iPhone onto an eSIM in your new one during setup, if your carrier supports it. On Pixel, Transfer SIM from another device does the same for Android. Follow our guide to transferring an eSIM to a new iPhone or phone. Moving between iPhone and Android? See how to transfer an eSIM between iPhone and Android.
Test the eSIM before you throw away the SIM
Turn Wi-Fi off, then check:
- [ ] Signal bars and your carrier name show for the new eSIM line
- [ ] You can make an outgoing call
- [ ] Someone can call you, and you can receive an SMS (important for bank and two-factor codes)
- [ ] A web page loads on mobile data
- [ ] Your main line is still the default for calls, messages and Cellular Data
If anything fails, restart the phone once, then contact the carrier. Don’t delete the new eSIM. For “No Service” problems, see eSIM not working.
Can you switch back to a physical SIM?
Yes, but it’s not a toggle. You’ll need your carrier to issue a new physical SIM (the old card is deactivated after conversion). Google’s Pixel help says this explicitly. Some phones can’t take a physical SIM at all: US models of iPhone 14 and later have no SIM tray, so on those the change is effectively one-way. Check that your phone has a SIM tray before you plan on switching back. If you’re unsure whether eSIM suits you, read eSIM vs physical SIM.
FAQ
Can I convert my physical SIM to eSIM and keep the same number?
Yes. Converting changes only the SIM format. Your phone number, plan and carrier stay the same. Confirm afterwards by receiving a call and an SMS on the eSIM.
How do I convert a physical SIM to eSIM on iPhone?
Go to Settings > Cellular > Convert to eSIM, tap Convert Cellular Plan, then Convert to eSIM. When the eSIM activates, remove the physical SIM and restart. If the option isn’t there, your carrier doesn’t support self-service conversion. Ask them for an eSIM instead.
How do I convert a physical SIM to eSIM on Android?
On Pixel 7 or later: Settings > Network & internet > SIMs > select the SIM > Convert to eSIM. On Samsung Galaxy: Settings > Connections > SIM manager > select the SIM > Convert to eSIM. Your carrier must support it.
Can I transfer my physical SIM number to an eSIM without contacting my carrier?
Yes, if your carrier supports in-phone conversion (the Convert to eSIM button), or eSIM Quick Transfer when moving to a new iPhone. If not, the carrier has to activate the eSIM for you with a QR code, its app or Carrier Activation.
Why don’t I see “Convert to eSIM”?
Usually because your carrier, or your specific plan, doesn’t support self-service conversion. Update and restart the phone, check that it’s unlocked, then use the carrier’s app or contact the carrier.
Will my physical SIM stop working after I switch to eSIM?
Yes. Once the eSIM activates, the physical SIM is deactivated. Keep it until you’ve tested calls, texts and data on the eSIM, then discard it.
Is it easy to switch back to a physical SIM after using eSIM?
You’ll need a new SIM card from your carrier, because the old one is deactivated. US models of iPhone 14 and later have no SIM tray, so they can’t switch back to a physical SIM.
Do I need Wi-Fi to switch to eSIM?
Use Wi-Fi. The eSIM profile downloads over the internet, and your physical SIM may lose service partway through the conversion.
Does converting to eSIM affect a travel eSIM I already have?
No. A travel eSIM is a separate line. After converting, check which line is set for Cellular or Mobile Data before you travel.
Related guides
- Check if your phone is eSIM compatible
- How to check if your phone is unlocked
- How to install and activate an eSIM
- eSIM vs physical SIM
- What is an eSIM?
Sources
- Apple Support: About eSIM on iPhone (Convert a physical SIM to an eSIM on the same iPhone; eSIM Quick Transfer). https://support.apple.com/en-us/118669
- Apple iPhone User Guide: Set up cellular service on iPhone (Convert to eSIM). https://support.apple.com/guide/iphone/iph3f11fba92/ios
- Google Pixel Help: Convert a physical SIM to an eSIM. https://support.google.com/pixelphone/answer/16115471
- Samsung US: SIM cards for your Galaxy phone or tablet (Convert SIM). https://www.samsung.com/us/support/answer/ANS10001619/
- AT&T device guides: conversion steps for iPhone 16 Pro Max, Galaxy S26 Ultra and Pixel 10a.